https://wikidocs.net/162814의 추가 기능 구현 - 카테고리
3-14 SBB 추가 기능 구현하기
이 책에서 구현할 SBB의 기능은 아쉽지만 여기까지이다. 함께 더 많은 기능을 추가하고 싶지만 이 책은 SBB의 완성이 아니라 SBB를 성장시키는 경험을 전달하는 데 목표를 두고…
wikidocs.net
이 글은 점프 투 스프링 부트의 3-13까지 구현과 이 글 이전의 구현을 마친 것을 전제로 한다.
Category 만들기
Category라는 새로운 엔티티를 만든 후 Question과 OneToMany 연동을 시켜 여러가지 게시판으로 글을 분류 할 수 있는 기능을 추가해보자. category 패키지를 생성 후 Category 클래스를 만들어주자
package com.example.main.category;

import com.example.main.answer.Answer;
import com.example.main.question.Question;
import jakarta.persistence.*;
import lombok.Getter;
import lombok.Setter;

import java.util.List;

@Entity
@Getter
@Setter
public class Category {

    @Id
    @GeneratedValue(strategy = GenerationType.IDENTITY)
    private Long id;

    @Column(unique=true)
    private String name;

    @OneToMany(mappedBy = "category", cascade = CascadeType.REMOVE)
    private List<Question> categoryQuestionList;
}
카테고리의 subject는 유니크하게 만들었고, 카테고리가 삭제되면 해당 카테고리의 모든 글을 삭제하도록 만들었다.
CategoryRepository 인터페이스와 CategoryService 클래스도 만들어주자.
package com.example.main.category;

import org.springframework.data.jpa.repository.JpaRepository;

import java.util.Optional;

public interface CategoryRepository extends JpaRepository<Category, Integer> {
    Optional<Category> findByName(String subject);
}
카테고리의 이름으로 카테고리를 찾는 함수를 추가해주었다.
package com.example.main.category;

import com.example.main.DataNotFoundException;
import com.example.main.question.Question;
import org.springframework.data.domain.Page;
import org.springframework.data.domain.PageRequest;
import org.springframework.data.domain.Pageable;
import org.springframework.data.domain.Sort;
import org.springframework.stereotype.Service;

import java.util.ArrayList;
import java.util.List;
import java.util.Optional;

@Service
public class CategoryService {

    private final CategoryRepository categoryRepository;

    public CategoryService(CategoryRepository categoryRepository) {
        this.categoryRepository = categoryRepository;
    }

    public Category create(String name) {
        Category category = new Category();
        category.setName(name);
        this.categoryRepository.save(category);
    }

    public List<Category> getAll() {
        return this.categoryRepository.findAll();
    }

    public Category getCategoryByName(String name) {
        Optional<Category> oc = this.categoryRepository.findByName(name);
        if (oc.isPresent()) {
            return oc.get();
        } else {
            throw new DataNotFoundException("category not found");
        }
    }
}
CategoryService에 name를 통해 카테고리를 찾기, 전체 카테고리 찾기, 카테고리 생성 함수를 추가하였다. 이제 Controller를 만들어 게시판 별로 Question을 페이징하도록 해주자.
게시판 만들기 및 게시판 별 Question 페이징
먼저 게시판들을 만들어주자. 기본적으로 게시판 링크는 네비게이션에 있으면 좋기 때문에 navbar.html을 수정해주자.
<nav th:fragment="navbarFragment" class="navbar navbar-expand-lg navbar-light bg-light border-bottom justify-content-between">
    <div class="container-fluid">
        <a class="navbar-brand" href="/">SBB</a>
        <button class="navbar-toggler" type="button" data-bs-toggle="collapse" data-bs-target="#navbarSupportedContent"
                aria-controls="navbarSupportedContent" aria-expanded="false" aria-label="Toggle navigation">
            <span class="navbar-toggler-icon"></span>
        </button>
        <div class="collapse navbar-collapse" id="navbarSupportedContent">
            <ul class="navbar-nav me-auto mb-2 mb-lg-0">
                <li class="nav-item">
                    <a class="nav-link" sec:authorize="isAnonymous()" th:href="@{/user/login}">로그인</a>
                    <a class="nav-link" sec:authorize="isAuthenticated()" th:href="@{/user/logout}">로그아웃</a>
                </li>
                <li class="nav-item">
                    <a class="nav-link" sec:authorize="isAnonymous()" th:href="@{/user/signup}">회원가입</a>
                    <a class="nav-link" sec:authorize="isAuthenticated()" th:href="@{/user/profile}">내 정보</a>
                </li>
            </ul>
        </div>
    </div>
    <table class="table">
        <thead>
            <tr class="text-center">
                <th th:each="category, loop : ${category_list}">
                    <a class="nav-link" th:href="|/category/${category.name}|" th:text="${category.name}"></a>
                </th>
            </tr>
        </thead>
    </table>
</nav>
category_list를 model에 넣어주면 네비게이션에 뜨게 될 것이다.CategoryController를 생성하기 전에 먼저 페이지를 출력하는 대부분의 controller에 category_list를 추가해주자.
@RequestMapping("/question")
@Controller
public class QuestionController {
    (...생략...)
    @GetMapping("/list")
    public String list(Model model, @RequestParam(value="page", defaultValue="0") int page,
                       @RequestParam(value = "kw", defaultValue = "") String kw) {
        Page<Question> paging = this.questionService.getList(page, kw);
        List<Category> categoryList = this.categoryService.getAll();
        model.addAttribute("paging", paging);
        model.addAttribute("kw", kw);
        model.addAttribute("category_list", categoryList);
        return "question_list";
    }

    @GetMapping(value = "/detail/{id}")
    public String detail(Model model, @PathVariable("id") Integer id, AnswerForm answerForm, CommentForm commentForm,
                         @RequestParam(value="ans-page", defaultValue="0") int answerPage,
                         @RequestParam(value="ans-ordering", defaultValue="time") String answerOrderMethod) {
        this.questionService.viewUp(id);
        Question question = this.questionService.getQuestion(id);
        Page<Answer> answerPaging = this.answerService.getAnswerList(question,
                                                            answerPage, answerOrderMethod);
        List<Comment> commentList = this.commentService.getCommentList(question);
        List<Category> categoryList = this.categoryService.getAll();
        model.addAttribute("question", question);
        model.addAttribute("ans_paging", answerPaging);
        model.addAttribute("comment_list", commentList);
        model.addAttribute("category_list", categoryList);
        return "question_detail";
    }

    @PreAuthorize("isAuthenticated()")
    @GetMapping(value = "/create")
    public String questionCreate(QuestionForm questionForm, Model model) {
        List<Category> categoryList = this.categoryService.getAll();
        model.addAttribute("category_list", categoryList);
        return "question_form";
    }

    @PreAuthorize("isAuthenticated()")
    @GetMapping("/modify/{id}")
    public String questionModify(QuestionForm questionForm, @PathVariable("id") Integer id,
                                 Principal principal, Model model) {
        Question question = this.questionService.getQuestion(id);
        if (!question.getAuthor().getUsername().equals(principal.getName())) {
            throw new ResponseStatusException(HttpStatus.BAD_REQUEST, "수정 권한이 없습니다.");
        }
        List<Category> categoryList = this.categoryService.getAll();
        model.addAttribute("category_list", categoryList);
        questionForm.setSubject(question.getSubject());
        questionForm.setContent(question.getContent());
        return "question_form";
    }
    (...생략...)
QuestionController의 페이지를 표시하는 것들에 모두 category_list를 model의 attribute로 추가하였다.
질문 생성시 카테고리를 반영하기 위해서 QuestionService의 create를 수정하고, category를 통해 question을 조회할 수 있도록 QuestionRepository도 수정해주도록 하자. 또 QuestionForm도 category를 추가해주자.
public interface QuestionRepository extends JpaRepository<Question, Integer> {
        (...생략...)
        Page<Question> findByCategory(Category category, Pageable pageable);
}
@Getter
@Setter
public class QuestionForm {
(...생략...)
private String category;
}@Service
public class QuestionService {
(...생략...)
public void create(String subject, String content, Category category, SiteUser siteUser) {
Question q = new Question();
q.setSubject(subject);
q.setContent(content);
q.setAuthor(siteUser);
q.setCategory(category);
q.setCreateDate(LocalDateTime.now());
this.questionRepository.save(q);
}
(...생략...)
public Page<Question> getCategoryQuestionList(Category category, int page) {
List<Sort.Order> sorts = new ArrayList<>();
sorts.add(Sort.Order.desc("createDate"));
Pageable pageable = PageRequest.of(page, 10, Sort.by(sorts));
return this.questionRepository.findByCategory(category, pageable);
}
}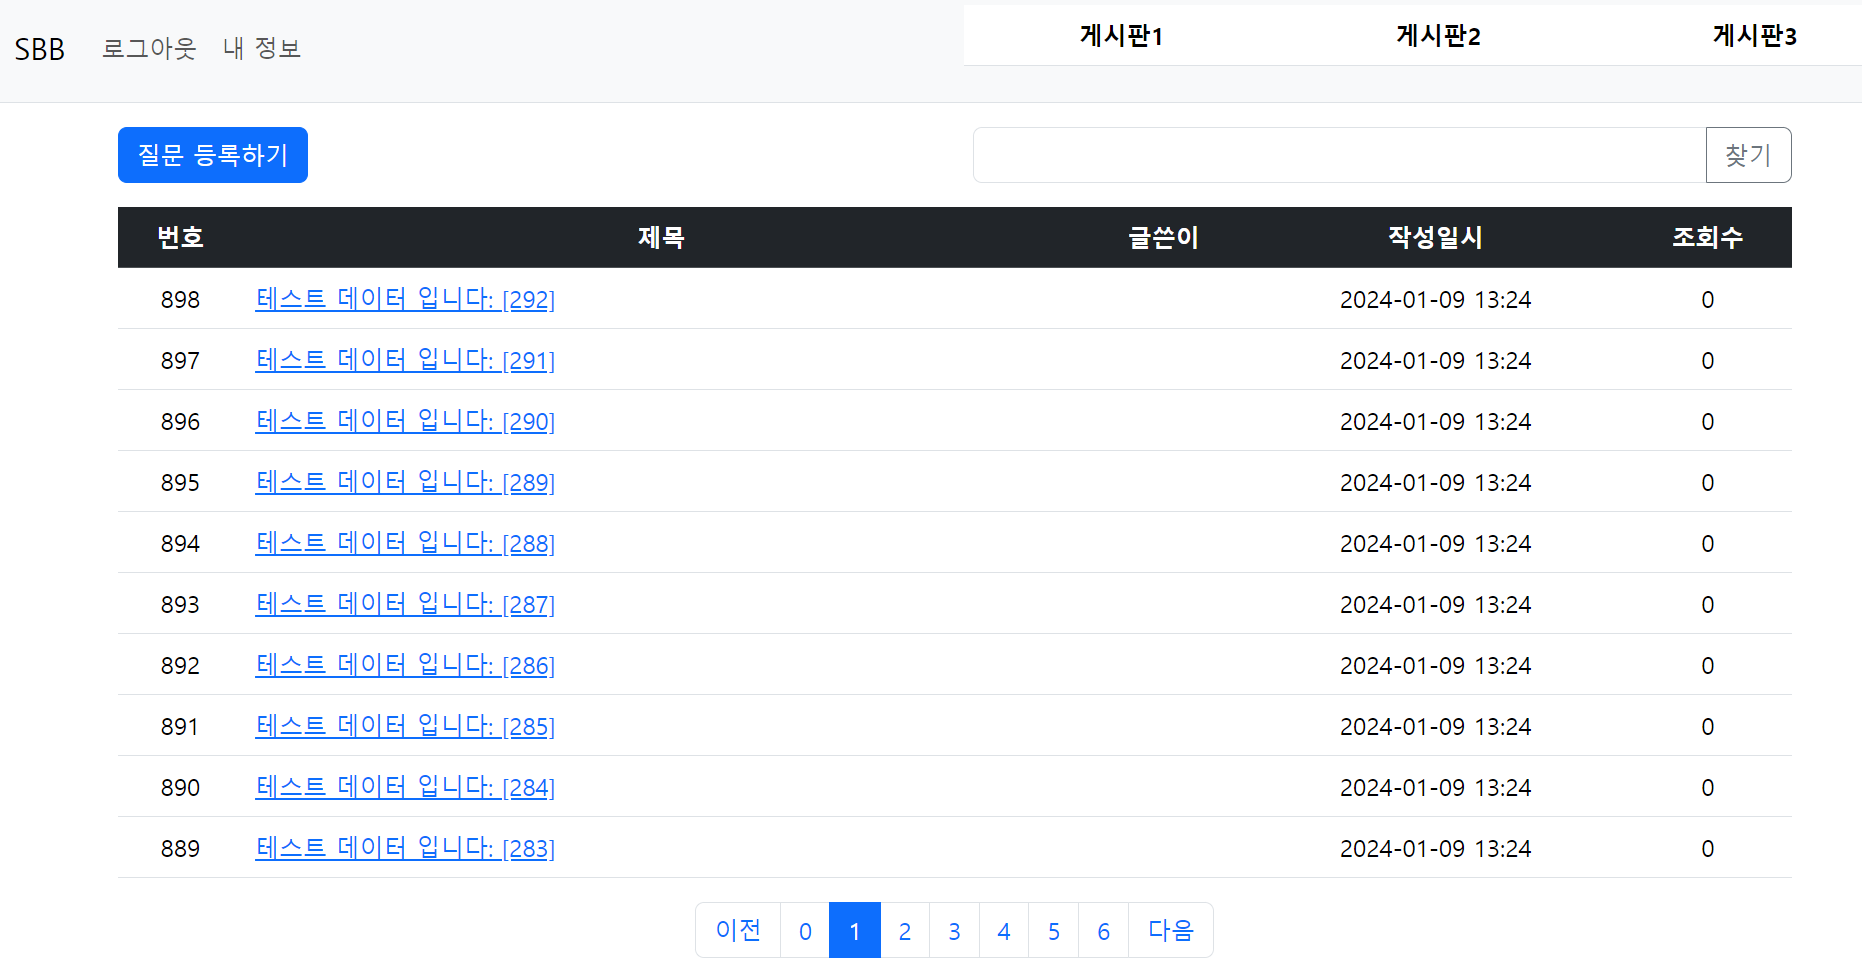
메인으로 들어오면 게시판이 보이는 것을 확인할 수 있다. 이제 게시판에서 게시판 내 질문들을 볼 수 있도록 category_question_list.html을 작성해주자.
먼저 question_list.html을 복사해 category_question_list.html을 만들어주자. 노란색 하이라이트 부분만 새로 만든 부분이다. (하이라이트가 노션에서 넘어오며 반영이 안됨.... 그냥 단순히 category_name을 게시글 보여주기 전에 제목으로 크게 써준거 뿐임.)
<html layout:decorate="~{layout}">
<div layout:fragment="content" class = "container my-3">
    <div class="row my-3">
        <div class="col-6">
            <a th:href="@{/question/create}" class="btn btn-primary">질문 등록하기</a>
        </div>
        <div class="col-6">
            <div class="input-group">
                <span>전체 검색: </span>
                <input type="text" id="search_kw" class="form-control" th:value="${kw}">
                <button class="btn btn-outline-secondary" type="button" id="btn_search">찾기</button>
            </div>
        </div>
    </div>
    <h2 class="border-bottom py-2" th:text="${category_name}"></h2>
    <table class="table">
        <thead class="table-dark">
        <tr class="text-center">
            <th>번호</th>
            <th style="width:50%">제목</th>
            <th>글쓴이</th>
            <th>작성일시</th>
            <th>조회수</th>
        </tr>
        </thead>
        <tbody>
        <tr class="text-center" th:each="question, loop : ${paging}">
            <td th:text="${question.id}"></td>
            <td class="text-start">
                <a th:href="@{|/question/detail/${question.id}|}" th:text="${question.subject}"></a>
                <span class="text-danger small ms-2"
                      th:if="${#lists.size(question.answerList) > 0}"
                      th:text="|[${#lists.size(question.answerList)}]|">
                    </span>
            </td>
            <td><span th:if="${question.author != null}" th:text="${question.author.username}"></span></td>
            <td th:text="${#temporals.format(question.createDate, 'yyyy-MM-dd HH:mm')}"></td>
            <td th:text="${question.views}"></td>
        </tr>
        </tbody>
    </table>
    <!-- 페이징 처리 시작 -->
    <div th:if="${!paging.isEmpty()}">
        <ul class="pagination justify-content-center">
            <li class="page-item" th:classappend="${!paging.hasPrevious} ? 'disabled'">
                <a class="page-link" href="javascript:void(0)" th:data-page="${paging.number-1}">
                    <span>이전</span>
                </a>
            </li>
            <li th:each="page: ${#numbers.sequence(0, paging.totalPages-1)}"
                th:if="${page >= paging.number-5 and page <= paging.number+5}"
                th:classappend="${page == paging.number} ? 'active'"
                class="page-item">
                <a th:text="${page}" class="page-link" href="javascript:void(0)" th:data-page="${page}"></a>
            </li>
            <li class="page-item" th:classappend="${!paging.hasNext} ? 'disabled'">
                <a class="page-link" href="javascript:void(0)" th:data-page="${paging.number+1}">
                    <span>다음</span>
                </a>
            </li>
        </ul>
    </div>
    <form th:action="@{/question/list}" method="get" id="searchForm">
        <input type="hidden" id="kw" name="kw" th:value="${kw}">
        <input type="hidden" id="page" name="page" th:value="${paging.number}">
    </form>
</div>
<script layout:fragment="script" type='text/javascript'>
    const page_elements = document.getElementsByClassName("page-link");
    Array.from(page_elements).forEach(function(element) {
        element.addEventListener('click', function() {
            document.getElementById('page').value = this.dataset.page;
            document.getElementById('searchForm').submit();
        });
    });
    const btn_search = document.getElementById("btn_search");
    btn_search.addEventListener('click', function() {
        document.getElementById('kw').value = document.getElementById('search_kw').value;
        document.getElementById('page').value = 0;  // 검색버튼을 클릭할 경우 0페이지부터 조회한다.
        document.getElementById('searchForm').submit();
    });
</script>
</div>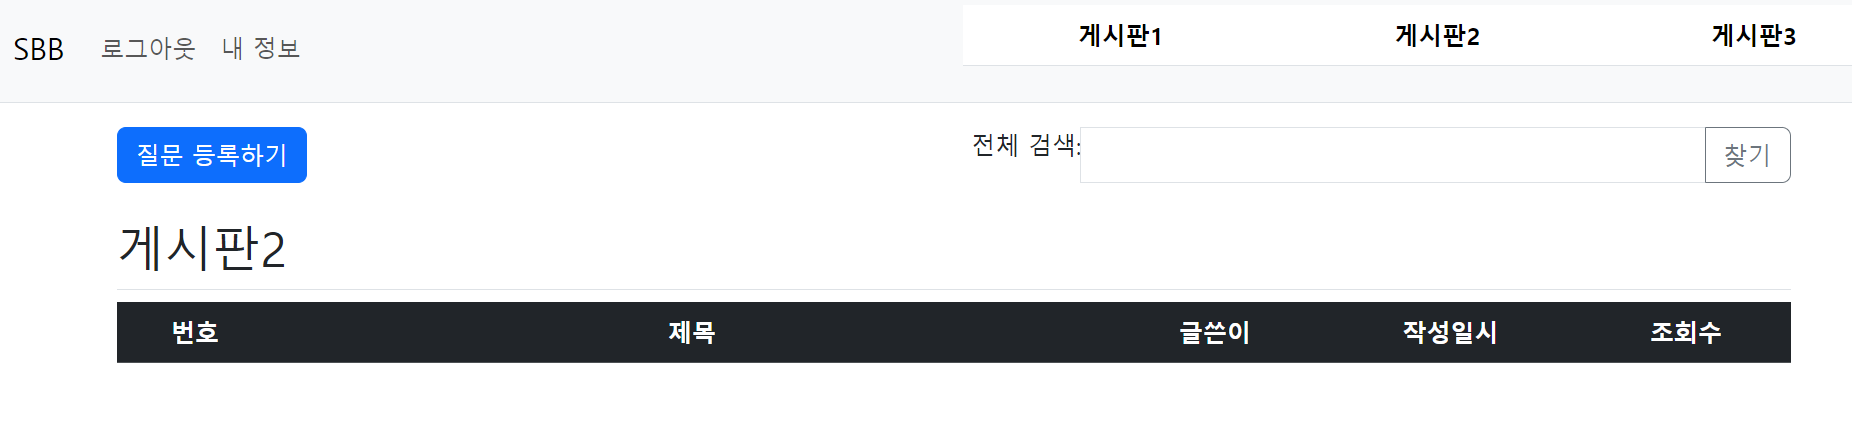
단순히 게시판 이름을 크게 띄워주었고, 검색에는 전체 검색이라는 추가 정보를 주었을 뿐이다.
question의 form에 category를 넣을 수 있게 question_form.html을 수정하자.
<html layout:decorate="~{layout}">
<div layout:fragment="content" class="container">
    <h5 class="my-3 border-bottom pb-2">질문등록</h5>
    <form th:object="${questionForm}" method="post">
        <input type="hidden" th:name="${_csrf.parameterName}" th:value="${_csrf.token}" />
        <div th:replace="~{form_errors :: formErrorsFragment}"></div>
        <div class="mb-3">
            <label for="category" class="form-label">카테고리</label>
            <select th:field="*{category}" class="form-select">
                <option th:each="category, loop : ${category_list}"
                        th:text="${category.name}" th:value="${category.name}">
                </option>
            </select>
            <label for="subject" class="form-label">제목</label>
            <input type="text" th:field="*{subject}" class="form-control">
        </div>
        <div class="mb-3">
            <label for="content" class="form-label">내용</label>
            <textarea th:field="*{content}" class="form-control" rows="10"></textarea>
        </div>
        <input type="submit" value="저장하기" class="btn btn-primary my-2">
    </form>
</div>
셀렉트 박스를 통해 아래와 같이 간단하게 카테고리를 정할 수 있게 만들었다.

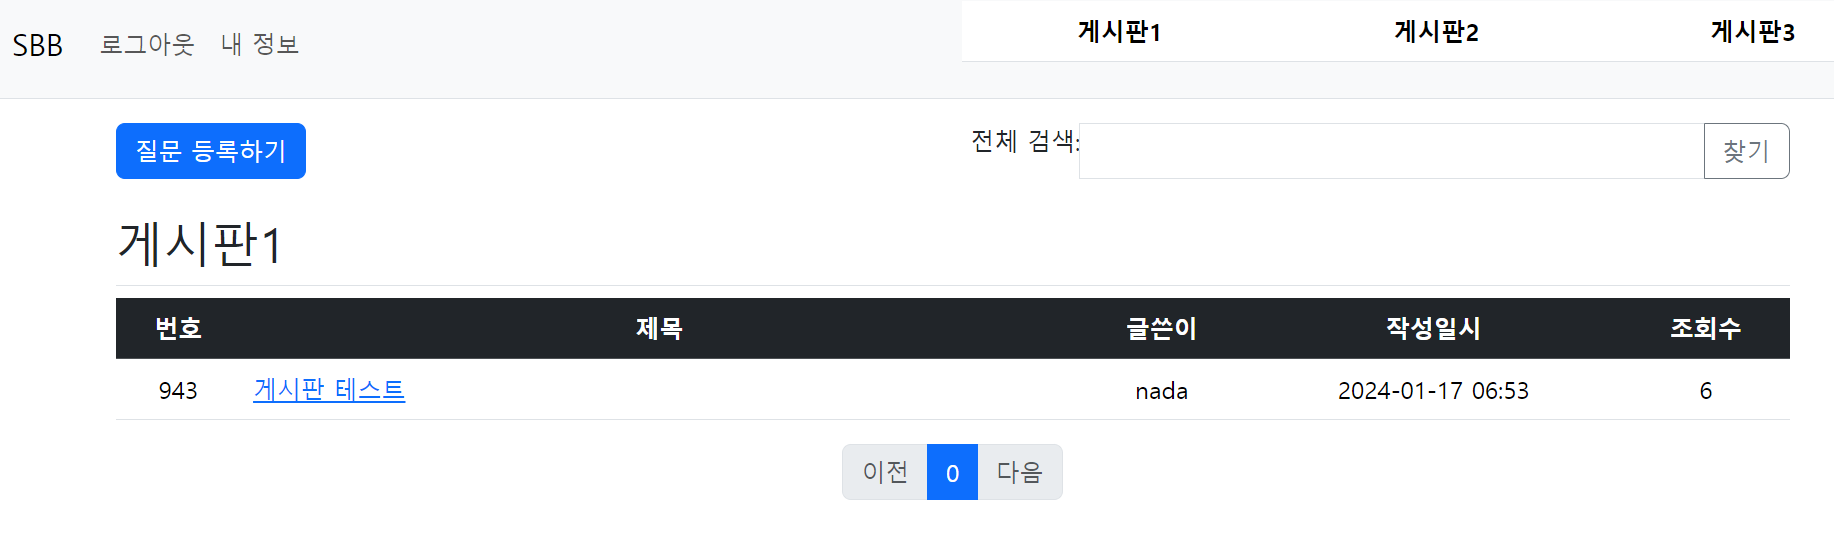
게시판에 잘 등록되는 것을 확인할 수 있었다.
이제 질문글에 들어가면 제목 밑에 조그마하게 어떤 게시판의 글이었는지를 알려주도록 하자.
<html layout:decorate="~{layout}">
<div layout:fragment="content" class="container my-3">
    <!-- 질문 -->
    <h2 class="border-bottom py-2" th:text="${question.subject}"></h2>
    <a th:if="${question.category != null}" th:href="@{|/category/${question.getCategory().getName()}|}"
       class="nav-link" style="color: gray" th:text="${question.getCategory().getName()}"></a>

        (...생략...)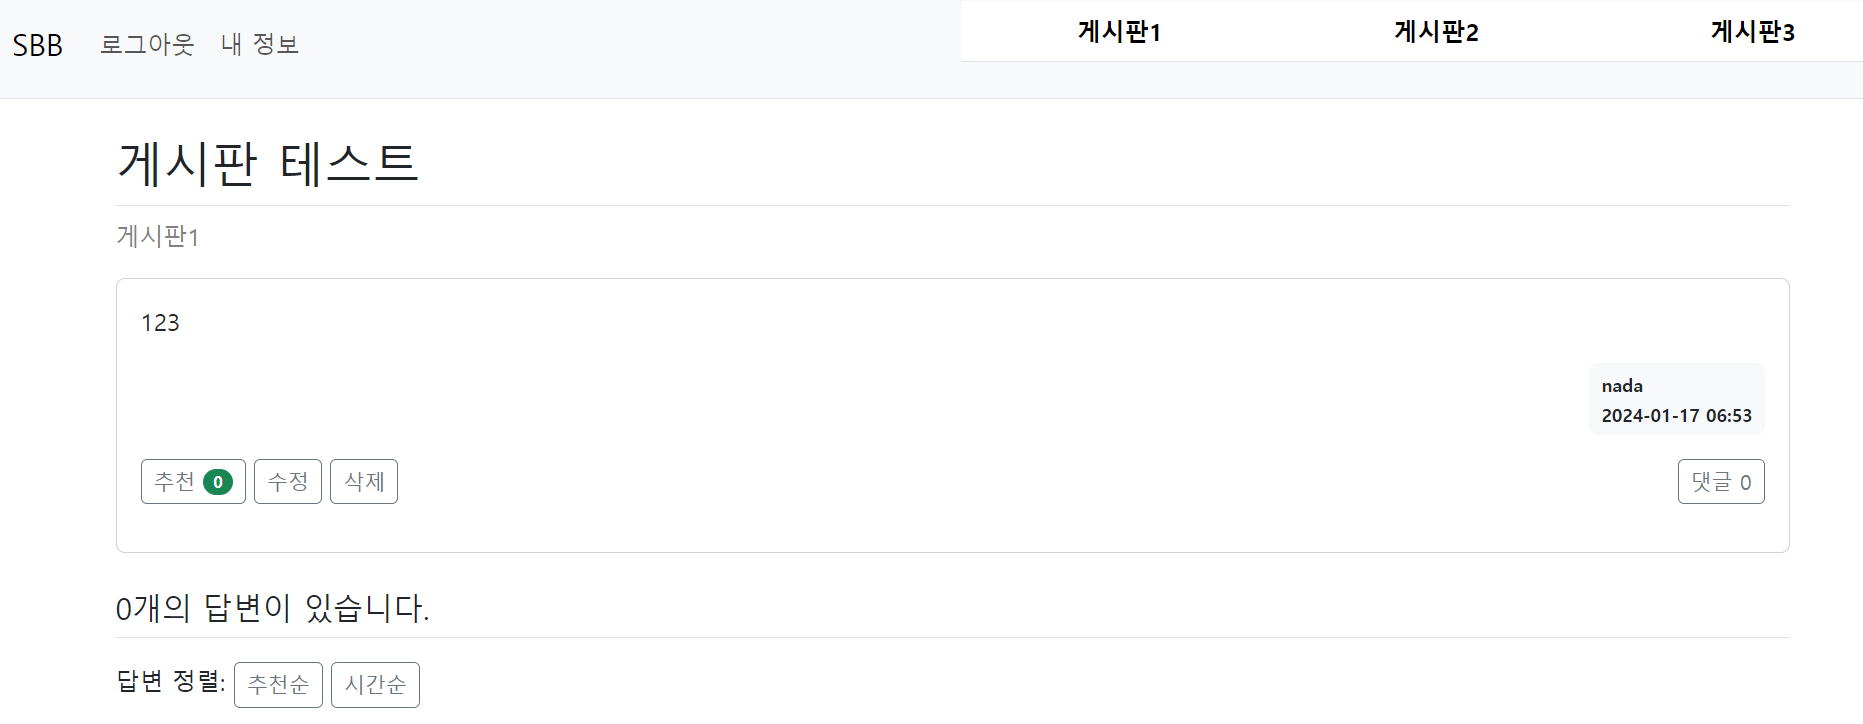
게시판 끝~ 그냥 댓글을 만드는 과정처럼 지금까지 배운것을 복습하는 느낌인듯..
전체 구현은 깃허브 참조.
'공부 및 정리 > 점프 투 스프링부트' 카테고리의 다른 글
| 점프 투 스프링부트 추가 기능 구현 - 소셜 로그인 (1) | 2024.01.19 |
|---|---|
| 점프 투 스프링부트 추가 기능 구현 - 댓글 (0) | 2024.01.19 |
| 점프 투 스프링부트 추가 기능 구현 - 비밀번호 변경 및 찾기 (0) | 2024.01.19 |
| 점프 투 스프링부트 추가 기능 구현 - 프로필 구현 (0) | 2024.01.19 |
| 점프 투 스프링부트 추가 기능 구현 - 답변 페이징 및 정렬 (0) | 2024.01.19 |


